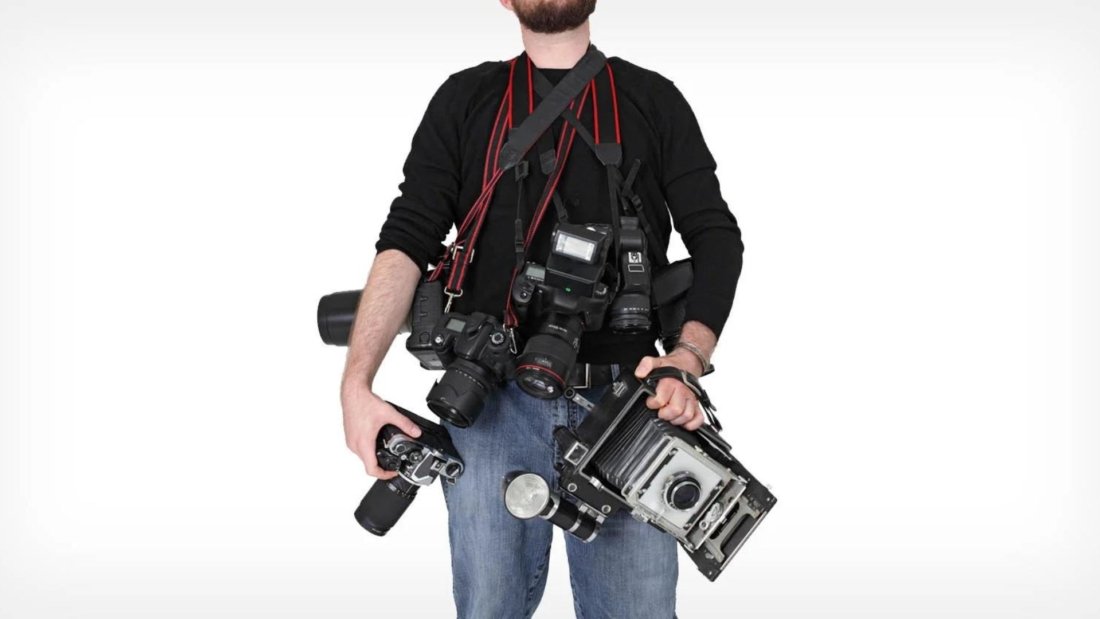
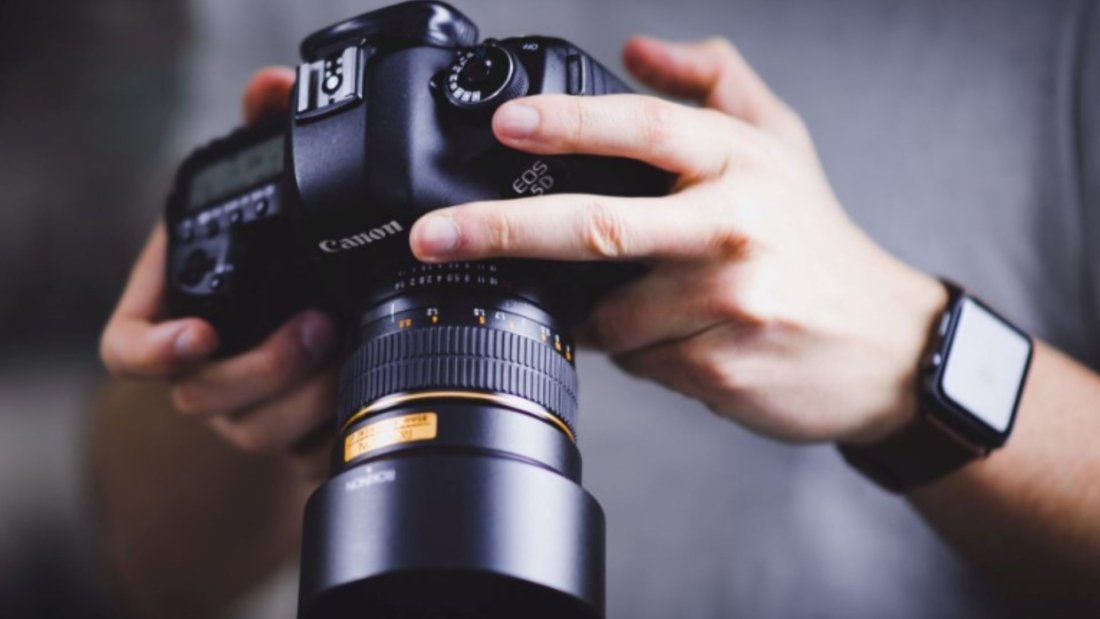
A Man Holding a Camera

Tips for Improving Your Photography Skills and Techniques

Photography is a wonderful art form that allows you to capture moments and express your creativity. Whether you’re a beginner or an experienced photographer, there’s always room for improvement. Here are some simple yet effective ways to improve your photography skills and techniques.

A Woman Taking a Picture with a Camera with a Man Beside Her
Tips for Improving Your Photography Skills and Techniques

Understand Your Camera

Before you begin snapping pictures, it’s crucial to have a good grasp of how your camera operates. Take a moment to dive into the manual provided with your camera and get to know its ins and outs. Familiarize yourself with the various features, settings, and controls it offers. Learn about key concepts like aperture, shutter speed, and ISO, and understand how they impact your photographs.

The aperture controls the amount of light that enters the camera, affecting depth of field and brightness. Shutter speed determines how long the camera’s sensor is exposed to light, impacting motion blur and sharpness. ISO dictates the camera’s sensitivity to light, influencing image noise and overall brightness. By mastering these fundamental aspects, you’ll gain greater control over your photography, allowing you to capture the perfect shot in any situation.

Practice Regularly

Mastering any skill requires dedication and practice, and photography is no exception. To enhance your photography skills, make it a habit to carry your camera with you everywhere you go. Take advantage of every opportunity to snap photos, whether you’re exploring new places, spending time with friends and family, or simply going about your daily routine. By practising regularly, you’ll become more familiar with your camera’s capabilities and gain confidence in your abilities as a photographer.

Don’t be afraid to experiment with different subjects, compositions, and lighting conditions. Try capturing a variety of scenes, from landscapes and portraits to still life and abstract images. Play around with different angles, perspectives, and focal points to add depth and interest to your photos. Experimenting with lighting can also yield stunning results, so don’t hesitate to shoot in different lighting conditions, such as natural sunlight, golden hour, or artificial light sources.

Learn Composition Techniques

Composition is an essential aspect of photography that can greatly impact the quality of your images. Learn about composition techniques such as the rule of thirds, leading lines, framing, and symmetry. Experiment with these techniques to create visually appealing and well-balanced photographs.

Pay Attention to Lighting

Lighting plays a crucial role in photography. Pay attention to the direction, intensity, and quality of light when taking photos. Experiment with natural light, artificial light, and different times of the day to see how they affect your images. Learn how to use light to your advantage to create mood and atmosphere in your photos.

Study the Work of Others

One of the best ways to improve your visual artistry is by studying the work of other photographers. Look at photos that inspire you and try to understand what makes them compelling. Analyze the composition, lighting, and techniques used by other photographers and apply them to your own work.

Experiment with Editing

Experiment with editing software such as Adobe Lightroom or Photoshop to enhance your photos. Learn basic editing techniques such as adjusting exposure, contrast, colour, and cropping. However, be careful not to overedit your photos, as it can detract from their natural beauty.

Seek Feedback

Don’t be afraid to seek feedback on your photos from friends, family, or fellow photographers. Constructive criticism can help you identify areas for improvement and grow as a photographer. Join photography forums or communities where you can share your work and receive valuable feedback from others.

Push Your Limits

Push yourself to experiment with different genres of photography, subjects, and techniques. Taking risks and challenging yourself will help you grow and expand your photography skills.

Stay Inspired

Stay inspired and motivated by surrounding yourself with things that ignite your passion for photography. Whether it’s exploring new places, attending photography exhibitions, or connecting with other photographers, find what inspires you and incorporate it into your photography journey.

Practice Patience

Improving your photography skills takes time and patience. Keep practising, experimenting, and learning from your mistakes. With dedication and perseverance, you’ll continue to grow and improve as a photographer.

Final Thoughts

In conclusion, improving your photography skills is a journey that requires dedication, practice, and a willingness to learn. By following these tips and incorporating them into your photography practice, you’ll gradually become a better photographer and capture stunning images that truly reflect your creativity and passion for photography.

You will find the following information useful:
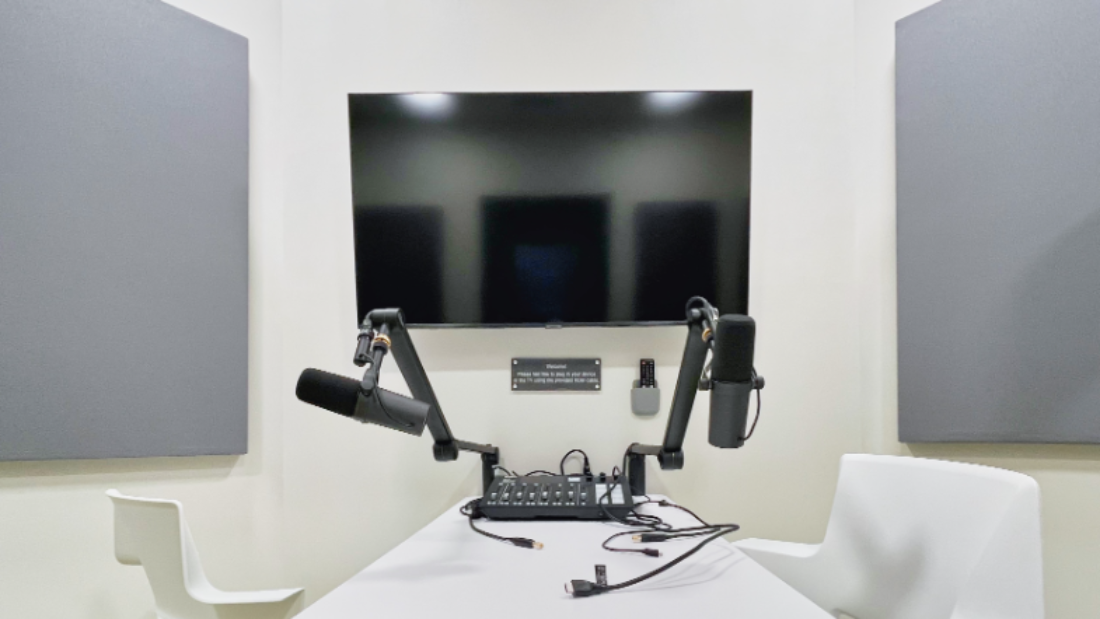
A Television in Recording Studio

Studio Amenities: What to Look for When Booking Recording Space

Booking a recording studio is an exciting step for any musician, podcaster, or audio professional. However, with so many options available, it’s essential to consider the amenities offered by each studio to ensure that it meets your needs and preferences. Here’s a detailed guide on what to look for when booking recording space.

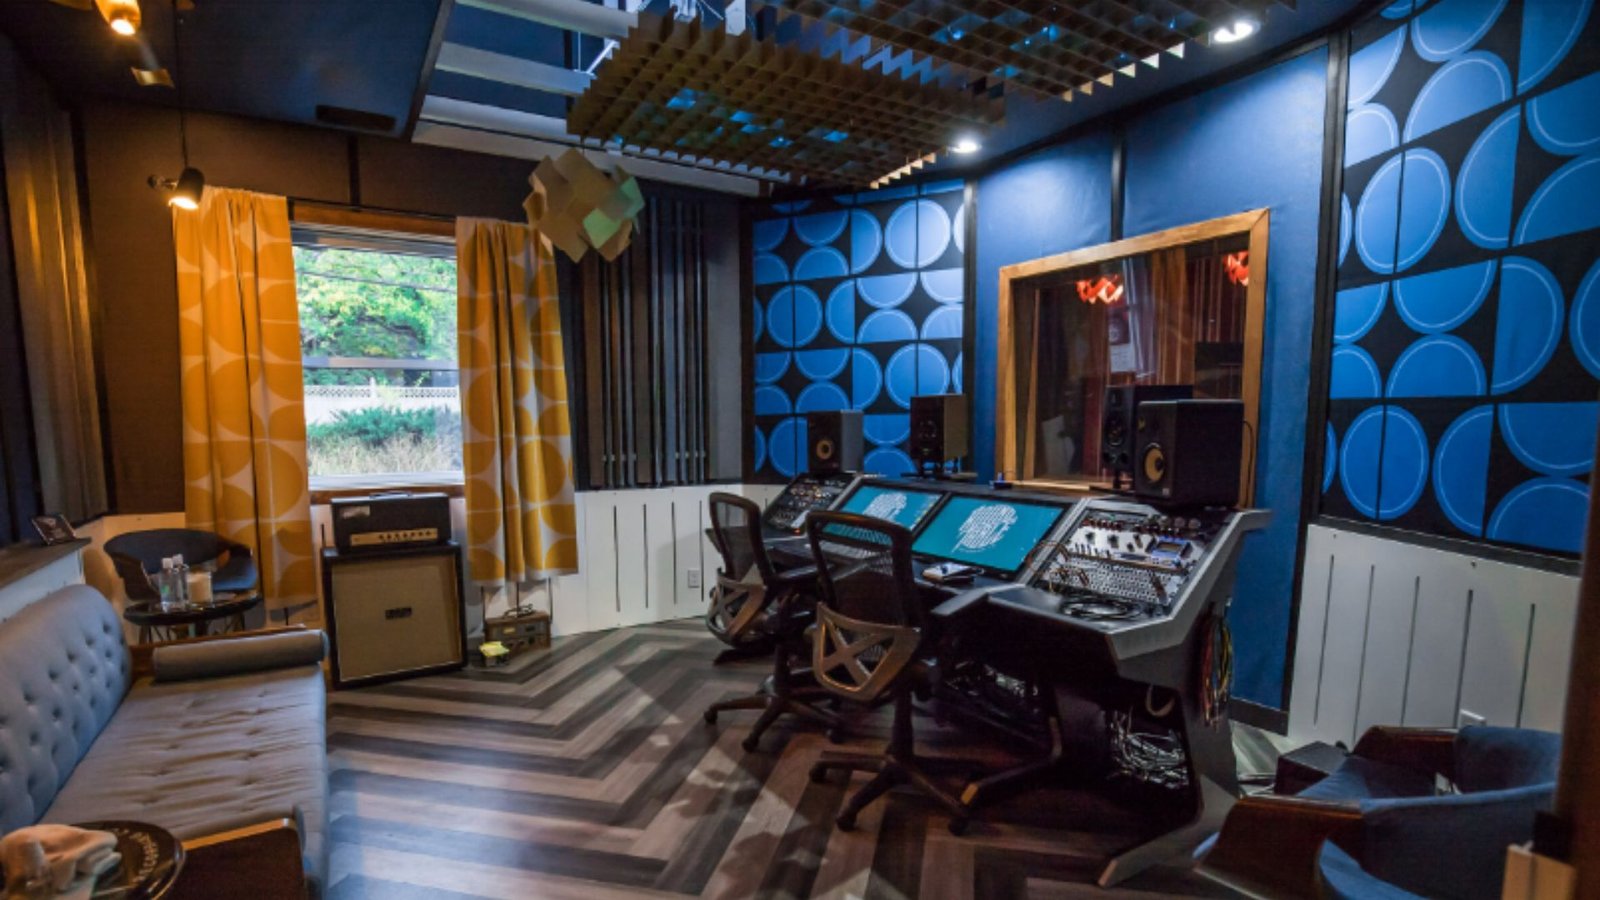
A Recording Studio
Studio Amenities What to Look for When Booking Recording Space

1. Acoustic Treatment

Acoustic treatment plays a pivotal role in ensuring that the recordings produced in a studio meet professional standards of quality. It involves the strategic placement of specialized materials designed to manipulate sound waves, thus enhancing the overall acoustics of the space. When selecting a recording studio, it’s imperative to prioritize facilities that are equipped with comprehensive acoustic treatments, including acoustic panels, bass traps, and diffusers.

Acoustic panels are commonly used to absorb sound reflections and reduce echoes within the recording environment. These panels are typically made from materials such as foam, fibreglass, or mineral wool and are strategically positioned on walls and ceilings to dampen sound waves effectively. By minimizing reflections, acoustic panels help create a controlled and balanced acoustic environment conducive to recording.

2. Quality Equipment

The quality of equipment in a recording studio is paramount, as it directly influences the overall outcome and quality of your recordings. When selecting a studio, it’s essential to ensure that it is equipped with industry-standard gear across various categories, including microphones, preamps, monitors, and recording software.

Microphones are one of the most critical pieces of equipment in any recording setup. A studio should offer a selection of high-quality microphones suitable for capturing different types of sounds, instruments, and vocals. This includes condenser microphones for detailed and transparent recordings, dynamic microphones for capturing loud and dynamic sound sources, and special microphones for specific applications such as drum overheads or vocal recording.

3. Spaciousness and Comfort

Creating a comfortable and spacious environment is vital for fostering productivity and unleashing creativity during recording sessions. When searching for recording studios, it’s crucial to prioritize spaces that offer ample room to accommodate your team and equipment comfortably.

A spacious environment provides artists and producers with the freedom to move around and collaborate without feeling confined or restricted. It allows for flexibility in arranging equipment and setting up instruments, facilitating a smooth and efficient workflow. Additionally, having plenty of space reduces clutter and minimizes the risk of accidents or equipment damage during recording sessions.

4. Instrument Availability

If you’re a musician, it’s essential to ensure that the studio has a variety of instruments available for use or rental. Whether you need a drum kit, keyboard, guitars, or amplifiers, having access to a diverse range of instruments can expand your creative possibilities and streamline the recording process.

5. Engineer Assistance

Some recording studios go the extra mile by offering the services of experienced engineers or producers to assist with your recording session. This added feature can be incredibly valuable, particularly for individuals who are new to recording or require technical expertise to achieve their desired sound quality.

Having a skilled professional on hand can provide numerous benefits and peace of mind throughout the recording process. Experienced engineers and producers bring a wealth of knowledge, expertise, and creative insight to the table, helping to elevate your recordings to a professional standard.

6. Amenities for Comfort and Convenience

In addition to essential recording equipment, consider the availability of amenities for comfort and convenience. This may include features such as a kitchenette, lounge area, restroom facilities, and Wi-Fi access. These amenities can enhance the overall experience for you and your team during long recording sessions.

7. Accessibility and Location

The location and accessibility of the studio are key considerations. Opt for a studio conveniently situated and accessible by public transport or car. Also, assess parking availability and proximity to amenities like restaurants, hotels, and entertainment venues.

8. Flexibility and Customization

Every recording project is unique, so it’s essential to choose a studio that offers flexibility and customization options to accommodate your specific needs. Whether you require additional recording time, mixing and mastering services, or specialized equipment, ensure that the studio can tailor its offerings to suit your requirements.

Final Thoughts

In conclusion, when booking recording space, it’s essential to consider the amenities offered by each studio to ensure a successful and enjoyable recording experience. By prioritizing factors such as acoustic treatment, equipment quality, comfort, instrument availability, engineer assistance, amenities, accessibility, and flexibility, you can find the perfect studio to bring your creative vision to life.

Vocal Recording Techniques Mastering the Art of Microphone Usage

Vocal Recording Techniques: Mastering the Art of Microphone Usage

For singers and aspiring musicians, capturing a captivating vocal performance in the recording studio hinges on a variety of factors. While vocal talent and proper singing technique are crucial, vocal recording techniques, particularly microphone usage, play a significant role in shaping the final product. This article delves into the art of microphone usage, equipping you with valuable tips to enhance your recordings and unleash your vocal potential.

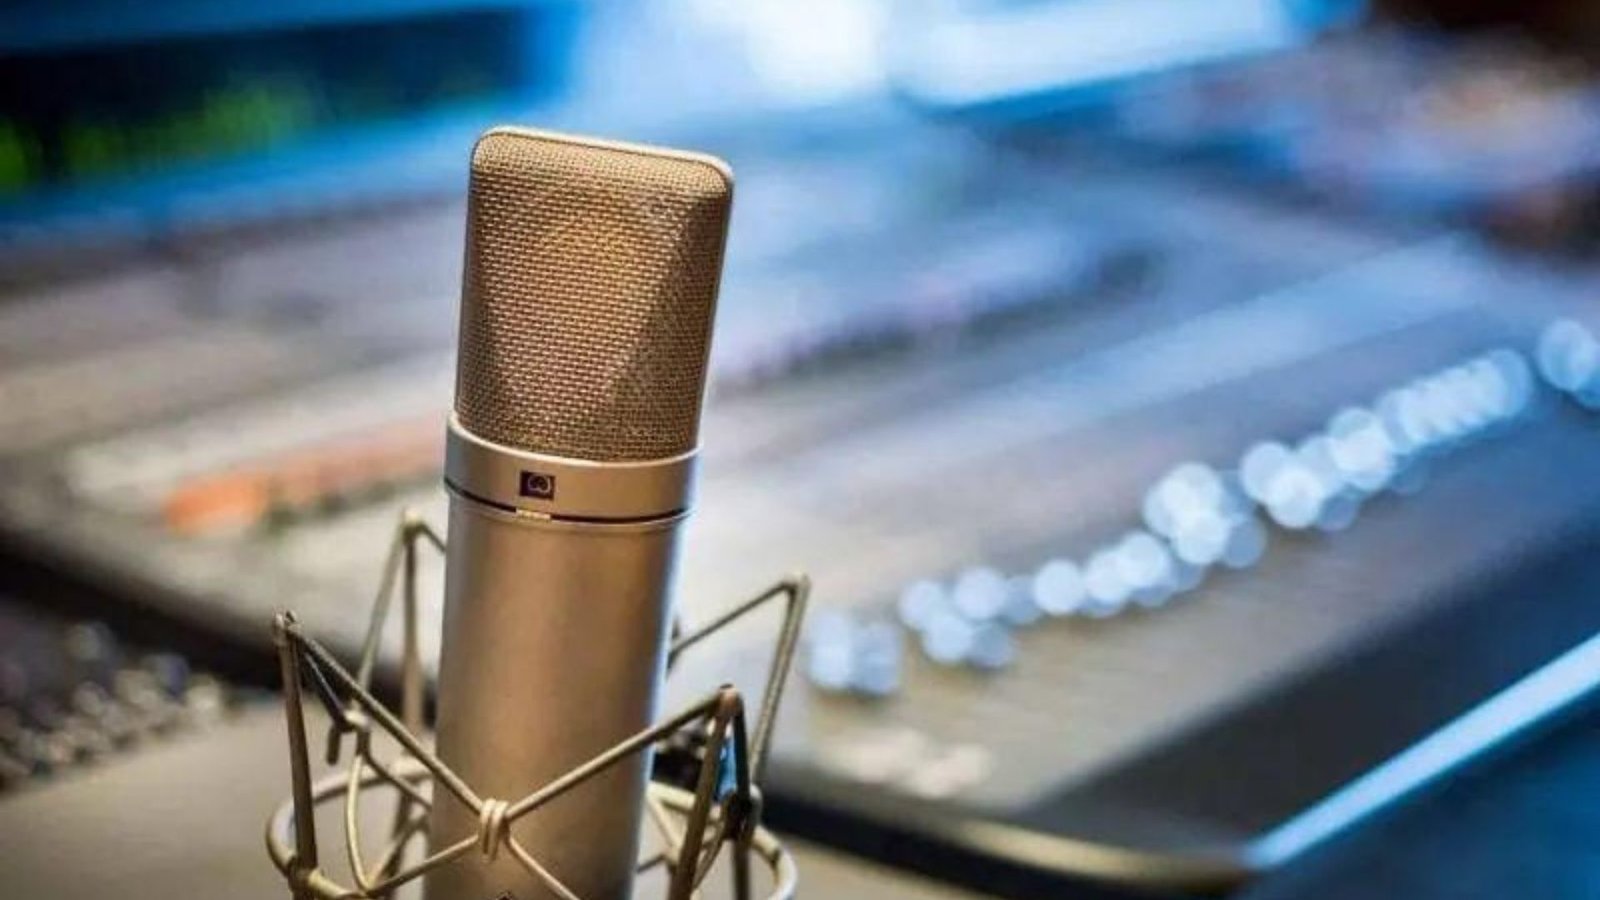
A Microphone
Vocal Recording Techniques: Mastering the Art of Microphone Usage

1. Choosing the Right Microphone

The first step in mastering vocal recording techniques involves selecting the appropriate microphone. Different microphones excel at capturing various vocal styles and instruments. Here’s a simplified breakdown:

Condenser microphones

Condenser microphones are commonly used for recording vocals because they’re very sensitive and can pick up all the small details in your singing or speaking. This sensitivity helps capture the subtle nuances and emotions in your performance, making your recordings sound more authentic and expressive. However, because they’re so sensitive, condenser microphones can also pick up unwanted background noise, like the hum of air conditioning or the sound of traffic outside. This means you need to be careful about your recording environment and may need to use noise-cancelling techniques or software to minimize these distractions.

Dynamic microphones

Dynamic microphones are frequently used in live performances because they’re sturdy and can handle loud sounds without distorting. This makes them great for singers with powerful voices or for recording loud instruments like drums or electric guitars. However, because they’re not as sensitive as condenser microphones, they might not pick up all the subtle details in softer singing styles or quieter instruments. This means they’re better suited for capturing strong, energetic performances rather than delicate ones.

2. Microphone Positioning

Once you’ve chosen the right microphone, vocal recording techniques emphasize its proper positioning. The distance between the microphone and your mouth significantly impacts the sound:

Close miking

Placing the microphone 2-4 inches away from your mouth results in a warm, intimate sound, ideal for emphasizing breath control and emotional delivery. However, this technique can also amplify plosives (p, b) and sibilance (s, sh).

Mid-distance miking

Positioning the microphone 6–12 inches away creates a more balanced sound, capturing both your voice and some room ambience. This option offers a good balance between clarity and warmth.

Distant miking

Placing the microphone further away (1-3 feet) captures more room ambience, creating a more natural and spacious sound. This technique is often used for backing vocals or creating a specific effect.

3. Pop Filter and Microphone Technique

Vocal recording techniques

Extend beyond microphone selection and positioning. Utilizing a pop filter helps reduce the plosive sounds caused by forceful air bursts from your mouth when pronouncing consonants like “p” and “b.” Additionally, maintaining proper microphone technique involves:

Maintaining consistent distance

Aim to maintain a consistent distance from the microphone throughout your performance to ensure a balanced sound.

Avoiding excessive movement

Excessive movement can cause unwanted noise and inconsistencies in the recording.

Using headphones

Wearing headphones allows you to hear yourself clearly and adjust your performance accordingly.

4. Experimentation and Personalization

While these vocal recording techniques provide a solid foundation, remember that the ideal microphone choice and positioning can vary depending on your voice, singing style, and desired sonic outcome. Experiment with different microphone types, distances, and techniques to discover what works best for you and the specific song you’re recording.

5. Seeking Professional Guidance

For aspiring singers and musicians, collaborating with a skilled audio engineer or vocal coach can prove invaluable. These professionals possess extensive knowledge of vocal recording techniques and microphone usage, offering personalized guidance and assistance in capturing your best possible vocal performance.

Final Thoughts

Mastering microphone usage and understanding vocal recording techniques can significantly enhance the quality of your recordings. When you grasp how to effectively use a microphone, you gain the ability to capture the nuances and intricacies of your voice. This allows your true vocal essence to shine through, creating recordings that are captivating and engaging for your audience. Whether you’re a singer, podcaster, or voice actor, mastering these techniques empowers you to produce professional-grade recordings that leave a lasting impression. Through practice and experimentation, you’ll discover the optimal microphone placement, gain control over volume and dynamics, and learn how to minimize unwanted background noise. With each recording session, you’ll refine your skills and unlock new levels of vocal clarity and expressiveness.

You will find the following information useful:

Adobe Audition Logo

Audio Editing 101: Essential Editing Tools and Workflows

Audio editing is a fundamental skill for anyone working with sound recordings, whether it’s for music production, podcasting, film, or other multimedia projects. In this guide, we’ll explore the essential tools and workflows for audio editing, helping beginners navigate the process with confidence.

Adobe Audition Logo
Audio Editing 101: Essential Editing Tools and Workflows

What is Audio Editing

Audio editing involves manipulating and refining sound recordings to achieve the desired outcome. This can include tasks such as trimming, cutting, rearranging, mixing, and applying effects to audio files. Whether you’re editing a podcast episode, a music track, or a dialogue scene for a film, having a good grasp of audio editing techniques is essential for producing professional-quality results.

Essential Audio Editing Tools

Digital Audio Workstations (DAWs)

When venturing into music production, explore Digital Audio Workstations (DAWs). DAWs such as Pro Tools, Ableton Live, Cubase, and FL Studio offer extensive audio editing capabilities, MIDI sequencing, multitrack recording, and more.

Although they may demand a steeper learning curve, these DAWs provide unparalleled depth of control over your audio. We strongly recommend learning to use a suitable DAW when editing audio.

Audacity: A Versatile Tool

Audacity proves popular among beginners thanks to its intuitive interface and no-cost accessibility. Despite its free status, this software offers a plethora of features catering to both basic and advanced editing requirements, making it an ideal entry point for novices in sound editing.

Adobe Audition: Unleashing Advanced Capabilities

For users seeking heightened functionality, Adobe Audition emerges as a prime choice. This professional-grade software delivers a comprehensive array of tools and options for refining audio content.

While it entails a monetary investment, the precision and quality of Adobe Audition‘s features justify the expense, especially for individuals aspiring to achieve top-tier audio production.

Audio Editing Workflows

Importing and Organizing Audio Files

Begin by importing your audio files into the DAW and organizing them into separate tracks or regions. This makes it easier to manage and edit individual elements of your audio project.

Editing and Arranging

Use the waveform editor to perform basic editing tasks such as trimming, cutting, and rearranging audio clips. You can also apply fades, crossfades, and volume automation to smooth out transitions between audio regions.

Applying Effects and Processing

Experiment with audio effects plugins to enhance the sound of your recordings. Apply EQ to balance the frequency spectrum, use compression to control dynamics, and add reverb or delay for spatial depth. Be mindful not to overprocess your audio, as it can result in unnatural or artifact-laden sound.

Mixing and Balancing

Once you’ve edited and processed your audio tracks, it’s time to mix them to achieve a balanced and cohesive sound. Adjust the volume levels, panning, and spatial positioning of each track to create a pleasing sonic landscape.

Exporting and Rendering

Finally, export your edited audio project to a suitable file format for distribution or further processing. Common audio formats include WAV, AIFF, MP3, and FLAC. Ensure that you select the appropriate sample rate, bit depth, and file settings to maintain the quality of your audio.

Enhance Your Audio Editing Skills: Tips and Best Practices

Enhance your audio editing workflow and end-product quality with these three essential tips:

Save and Backup Your Work

Remember to save and back up your work regularly to prevent loss due to unexpected software crashes or computer shutdowns. Hit save after every significant change and utilize cloud storage or an external hard drive for backups.

Test Across Multiple Sources

Ensure your audio sounds good on all devices by testing it through multiple sources. Avoid the common mistake of relying solely on one pair of speakers or headphones. What sounds good on studio monitors might not translate well to laptop speakers or earbuds.

Take Breaks for Accurate Perception

Combat ear fatigue by taking breaks during prolonged editing sessions. Allocate a 15-minute break for every hour of editing to reset your ears and maintain accurate audio perception.

With these tips, you can confidently navigate your sound editing journey. It’s time to roll up your sleeves and dive into editing your audio!

FAQ

1. What Are Some Popular Sound Editing Software?

Some popular sound editing software include Audacity, Adobe Audition, Pro Tools, Logic Pro, and Reaper. These programs offer a range of features for editing, mixing, and mastering audio recordings.

2. How Can I Remove Background Noise from Audio Recordings?

To remove background noise, you can use noise reduction tools available in most sound editing software. These tools allow you to identify and reduce unwanted noise while preserving the quality of the audio signal.

3. What Is EQ in Audio Editing?

EQ, short for equalization, is a tool used to adjust the balance of frequencies in an audio recording. By boosting or cutting specific frequencies, EQ allows you to alter the tonal characteristics of the audio and correct any imbalances.

4. What Does Compression Do in Sound Editing?

Compression is a dynamic processing technique used to control the dynamic range of audio recordings. It reduces the difference between the loudest and quietest parts of the audio, resulting in a more consistent volume level.

5. How Can I Improve Audio Quality in Editing?

You can improve audio quality by using techniques such as noise reduction, EQ adjustments, compression, volume normalization, and proper editing practices. Additionally, using high-quality recording equipment and capturing clean audio recordings are crucial for achieving optimal results.

Conclusion

Mastering the essentials of sound editing is a valuable skill for anyone working with sound recordings. By familiarizing yourself with the essential tools and workflows of sound editing, you can create professional-quality audio projects with confidence and precision.

You will find the following information useful:

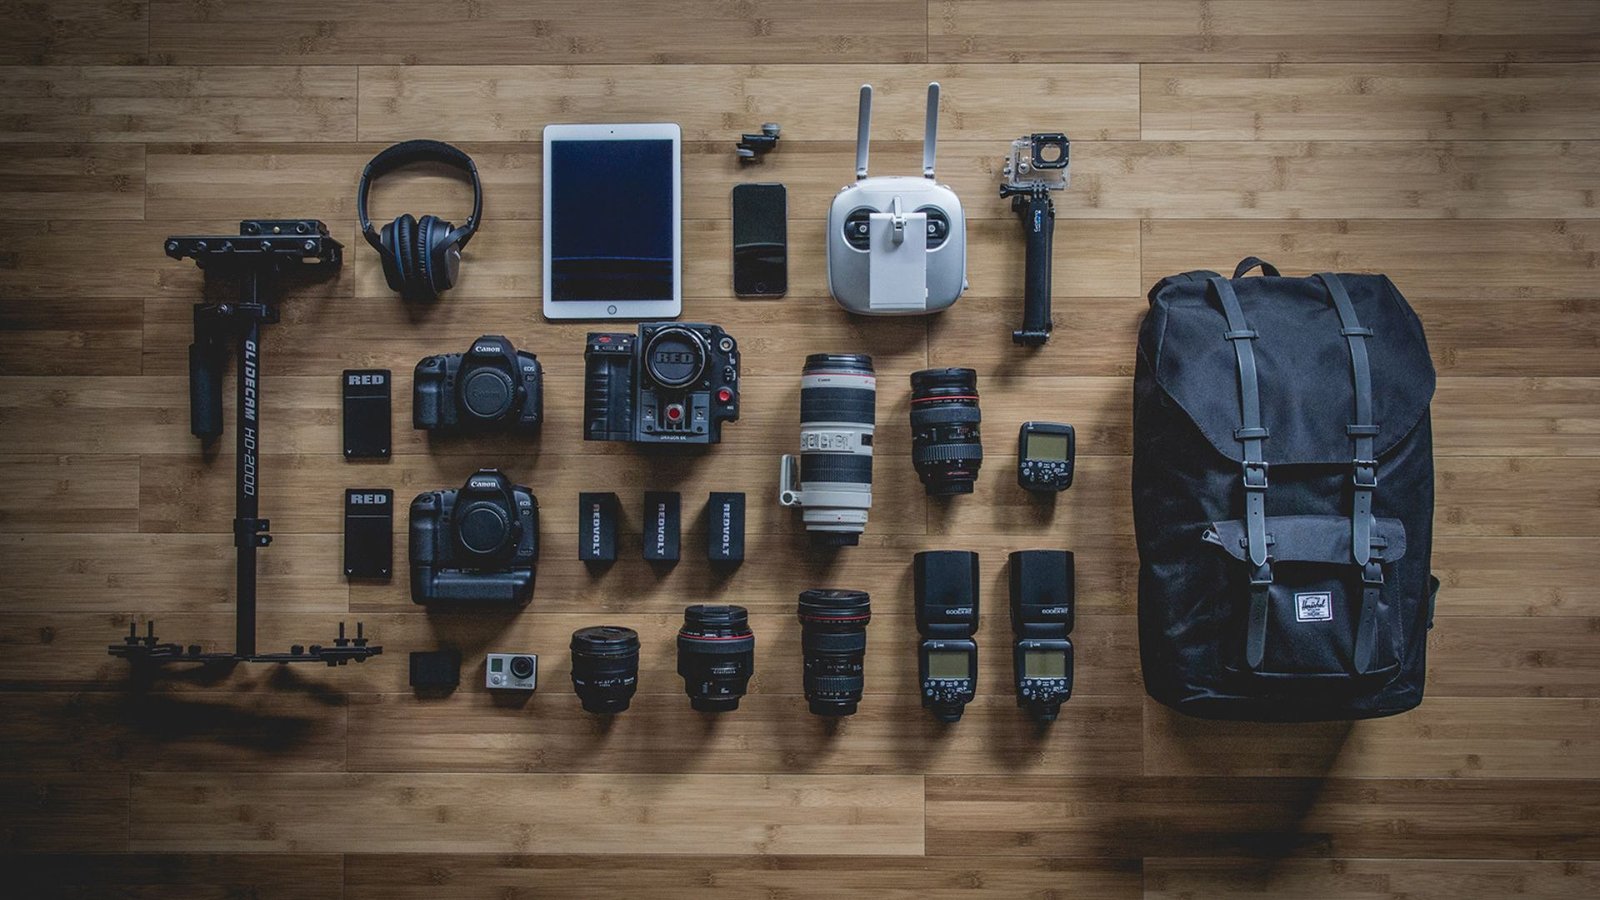
A Man Holding Photography Equipment

The Latest Photography Gear You Need to Know About

Technology in the photography world is constantly evolving, and keeping up with the latest and greatest photography gear can feel like chasing a moving target. But fear not, fellow shutterbugs! This article will equip you with knowledge of the hottest photography gear releases that are sure to elevate your creative endeavours. So, grab your camera bag and let’s dive in!

Photography Equipment

Mirrorless Cameras

Mirrorless cameras have undeniably reshaped the landscape of photography, seamlessly marrying compactness with uncompromising performance. At the forefront of this revolution is the Sony Alpha 1, a powerhouse boasting a groundbreaking 50.1-megapixel full-frame sensor. This sensor not only delivers exceptional image quality but also allows for incredible detail and clarity in every shot. What truly sets the Alpha 1 apart is its remarkable shooting speeds, capable of capturing up to 30 frames per second. Whether you’re freezing fast-paced action or shooting in challenging lighting conditions, this camera ensures unparalleled precision and reliability. Moreover, its advanced autofocus system raises the bar for accuracy, effortlessly tracking subjects with unmatched speed and responsiveness.

On the other hand, the Canon EOS R5 emerges as a formidable contender, showcasing its prowess with impressive 8K video capabilities and stellar image stabilization. This camera isn’t just about capturing stills; it’s a versatile tool that excels in the realm of motion capture as well. The ability to record in 8K resolution opens up a world of cinematic possibilities, allowing filmmakers and content creators to push the boundaries of visual storytelling. Additionally, its exceptional image stabilization technology ensures smooth and steady footage, even in handheld or dynamic shooting scenarios. Whether you’re shooting documentaries, vlogs, or professional-grade films, the Canon EOS R5 delivers unmatched versatility and performance, making it a go-to choice for photographers and videographers alike.

Lens Innovations

Investing in high-quality lenses is essential for capturing stunning images. The Sony FE 35mm f/1.4 GM stands out for its exceptional sharpness and beautiful bokeh, making it a favourite among portrait and street photographers. For landscape enthusiasts, the Nikon NIKKOR Z 14-24mm f/2.8 S offers unmatched edge-to-edge clarity and minimal distortion, perfect for capturing expansive vistas with precision.

Drone Technology

Drones have revolutionized aerial photography, providing unique perspectives that were once out of reach. The DJI Air 2S sets the standard with its 1-inch CMOS sensor capable of capturing 20-megapixel stills and 5.4K video at 30fps. Its intelligent flight modes and obstacle sensors ensure smooth and safe operation, making it ideal for both beginners and experienced drone pilots alike.

Lighting Solutions

Good lighting is essential for creating captivating photographs. The Profoto B10X portable strobe offers studio-quality lighting in a compact form factor, making it perfect for on-location shoots. Its powerful LED modelling light and fast recycling times ensure consistent illumination, while its compatibility with a range of light modifiers provides endless creative possibilities.

Tripod Versatility

A reliable tripod is an indispensable tool in a photographer’s arsenal, providing the stability and precision necessary to capture stunning images in any environment. The Manfrotto Befree GT XPRO stands out as a top choice, seamlessly blending durability with portability to meet the demands of photographers on the move. Crafted from lightweight yet robust carbon fiber, this tripod strikes the perfect balance between strength and weight, ensuring it can withstand the rigours of frequent use without adding unnecessary bulk to your gear. Its innovative design further enhances its usability, with intuitive features that streamline your workflow and maximize efficiency.

One of the standout features of the Manfrotto Befree GT XPRO is its versatile ball head, which offers smooth and precise adjustments for seamless composition. Whether you’re planning to capture sweeping landscapes or tilting to frame the perfect portrait, this ball head provides the flexibility and control you need to achieve your vision with ease. Additionally, its quick-release plate mechanism allows for swift setup and breakdown, minimizing downtime and enabling you to capitalize on fleeting photographic opportunities, even when you’re on the go.

Editing Software

Post-processing plays a crucial role in refining your images to perfection. Adobe’s Lightroom Classic remains the go-to choice for many photographers, offering powerful tools for organizing, editing, and sharing photos seamlessly. Its non-destructive editing workflow preserves the integrity of your original files, allowing for limitless experimentation and creativity.

Storage Solutions

With the ever-increasing file sizes of high-resolution images and videos, reliable storage solutions are more important than ever. The SanDisk Extreme Pro Portable SSD delivers lightning-fast transfer speeds and rugged durability, making it the perfect companion for photographers on the move. Its compact design and generous storage capacity ensure that you never have to compromise on image quality or quantity.

Conclusion

In an industry driven by innovation and creativity, staying abreast of the latest photography gear can elevate your work to new heights. Whether you’re a seasoned professional or an aspiring enthusiast, investing in cutting-edge equipment can unlock a world of possibilities and help you realize your artistic vision with precision and style. So, gear up, get shooting, and let your creativity soar!

You will find the following information useful:

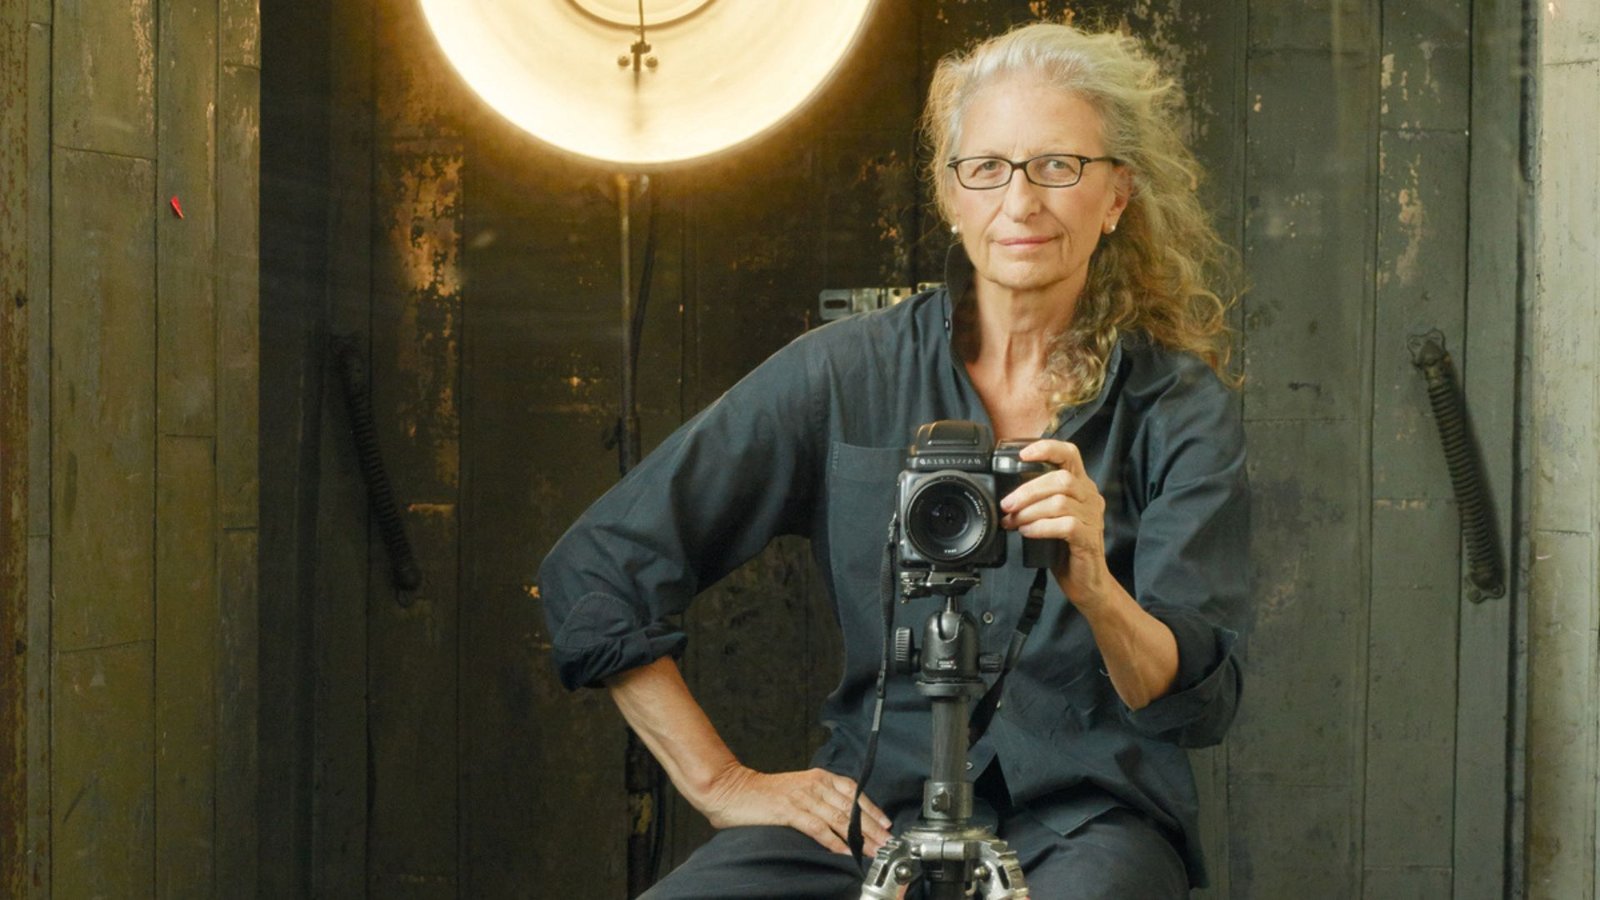
A Woman Sitting on High Stool Holding a Camera

Essential Concepts in Photography

Photography is a captivating art form that allows individuals to capture moments, express creativity, and evoke emotions through images. To embark on a journey in photography, understanding the basic concepts is essential. In this blog post, we’ll explore the essential concepts in photography.

A Woman Sitting on High Stool Holding a Camera
Essential Concepts in Photography

Understanding Exposure

Exposure is the cornerstone of photography, dictating how light interacts with the camera sensor to create an image. Mastering exposure involves balancing three key elements: aperture, shutter speed, and ISO. Aperture controls the amount of light entering the lens, while shutter speed determines the duration of light exposure. ISO, on the other hand, regulates the sensor’s sensitivity to light. By understanding how these factors work together, photographers can achieve optimal exposure in their images, capturing scenes with clarity and precision.

Composition Techniques

Composition is pivotal in crafting visually captivating photographs. Techniques such as the rule of thirds, leading lines, and symmetry guide the viewer’s eye through the image, enhancing visual interest and storytelling. Additionally, elements like framing, perspective, and balance contribute to the overall aesthetic appeal of the photograph. By experimenting with different composition techniques, photographers can elevate their images from ordinary to extraordinary, capturing attention and evoking emotion in viewers.

Mastering Light

Light is indeed the cornerstone of photography, playing a pivotal role in shaping the mood, atmosphere, and overall quality of an image. Here are some key points to consider when harnessing the power of light in photography:

Natural vs. Artificial Light

Understanding the characteristics of natural and artificial light sources is crucial for achieving the desired effects in your photographs. Natural light, such as sunlight or moonlight, can vary in intensity, colour temperature, and direction depending on the time of day and weather conditions. On the other hand, artificial light sources like studio lights or flash units offer more control but require careful manipulation to achieve the desired look.

Golden Hour Photography

The golden hour, occurring shortly after sunrise and before sunset, is revered by photographers for its soft, warm, and diffused light. During this magical time, the sun sits low on the horizon, casting long shadows and bathing the landscape in a golden glow. Photographers often capitalize on the golden hour to capture stunning portraits, landscapes, and cityscapes with a rich, golden hue that adds warmth and depth to their compositions.

Backlighting

Backlighting occurs when the primary source of light is positioned behind the subject, creating a silhouette effect or highlighting the contours and textures of the subject. This technique can produce dramatic and atmospheric images, especially during sunrise or sunset when the light is soft and diffused. By strategically positioning the light source behind the subject, photographers can create striking compositions that evoke a sense of mystery and intrigue.

Low-Key Lighting

Low-key lighting involves using minimal lighting to create high contrast and dramatic shadows in the image. This technique is often employed in portrait and still-life photography to evoke mood and add visual interest. By selectively illuminating certain areas of the scene while leaving others in shadow, photographers can draw attention to specific elements and create a sense of depth and dimension in their compositions.

Light Modifiers and Reflectors

Light modifiers such as diffusers, reflectors, and softboxes allow photographers to control and manipulate the quality and direction of light. Diffusers soften harsh light, creating a more flattering and natural-looking illumination, while reflectors bounce light onto the subject, filling in shadows and enhancing details. Softboxes provide a controlled and diffused light source, ideal for portrait and product photography.

The Role of Camera Settings

Familiarizing yourself with your camera’s settings is crucial for unlocking the full potential of your photography. By understanding and mastering each setting, you gain greater creative control and can maximize the quality of your images. Here’s a breakdown of some key settings and how they impact your photography:

Shooting Modes

Your camera likely offers various shooting modes, such as manual, aperture priority, shutter priority, and program mode. Each mode provides a different level of control over settings like aperture, shutter speed, and ISO. Experimenting with these modes allows you to understand their strengths and weaknesses, enabling you to choose the most suitable mode for different shooting scenarios.

Autofocus Settings

Understanding autofocus settings is essential for achieving sharp and well-focused images. Your camera may offer different autofocus modes, such as single-point, continuous, and automatic selection. Learning how to select the appropriate autofocus mode based on your subject and shooting conditions ensures that your images are consistently in focus.

White Balance

White balance determines the colour temperature of your images, ensuring that colours appear natural and accurate. Different lighting conditions require adjustments to white balance settings to avoid colour casts. Experimenting with white balance presets or manually adjusting the temperature and tint allows you to achieve the desired colour rendition in your photographs.

Metering Modes

Metering modes determine how your camera measures and calculates exposure. Common metering modes include evaluative (matrix), spot, and center-weighted metering. Understanding metering modes helps you accurately expose your images, especially in challenging lighting situations where the camera’s built-in meter may struggle to determine the correct exposure.

Post-Processing Techniques

Post-processing is the final step in the photographic process, where images are refined and polished to achieve the desired aesthetic. Software such as Adobe Lightroom and Photoshop offer a myriad of tools and techniques for adjusting exposure, contrast, colour, and sharpness. From basic adjustments like cropping and straightening to advanced techniques like HDR blending and selective editing, post-processing allows photographers to enhance their images and realize their creative vision.

Conclusion

Mastering the basic concepts of photography lays the groundwork for unleashing your creative potential and capturing compelling images. By understanding exposure, composition techniques, light manipulation, camera settings, and post-processing techniques, photographers can elevate their craft and create impactful visual stories that resonate with viewers. So grab your camera, explore the world around you, and let your creativity soar as you embark on your photographic journey. Be sure to learn all these fundamentals in photography to be the next thing in photography.

A Woman in a Studio Wearing a Black Dress with Blonde Hair Leaning on Top of a White Table

A Guide to Choosing the Right Portrait Photography Studio

Choosing the ideal portrait photography studio is a pivotal decision, as it significantly impacts the portrayal of your subject’s essence and beauty in photographs. This comprehensive guide is designed to be your trusted companion, providing insights into essential factors that should shape your decision. By following the steps outlined, you’ll navigate the decision-making process with ease, transforming it into a seamless and enjoyable experience. From defining your style to evaluating amenities and meeting photographers, each step is crafted to empower you with the knowledge needed to make an informed and satisfying choice. Your journey towards captivating and meaningful portraits starts here.

A Woman in a Studio Wearing a Black Dress with Blonde Hair Leaning on Top of a White Table

Define Your Style and Vision

Before you start looking at all the different portrait photography studios out there, think about what you like. Do you prefer classic pictures that are always in style, more modern ones, or maybe something imaginative and artistic? Figuring out your style helps you choose a studio that matches what you like and how you want your pictures to look. It’s like having a map to guide you in picking the studio that fits your taste.

Evaluate Studio Amenities and Equipment

Check out what the studio has in terms of equipment and things you can use. A good studio should have good lights, different backgrounds for your pictures, and really good tools for editing. Having all these things is super important for making nice pictures. Make sure the studio has everything you need for the kind of pictures you want to take.

Consider Location and Accessibility

Think about where the studio is and if it’s easy for you and your friends to get there. Choose a studio that’s not only in line with how you like things to look but is also easy to get to. Ask if there’s a good place to park, and check out how you can get there with your friends. This way, taking pictures will be a lot more fun and easy for everyone.

Review Client Testimonials and Reviews

Read what people have said about the studio to know if it’s good. If other people liked it and said nice things, it means the studio is reliable and professional. It shows that the studio cares about making customers happy. Listen to what other people experience to help you decide if it’s a good choice.

Understand Pricing and Packages

Find out how much it costs by asking about the prices and what you get for your money. Make sure they tell you everything that’s included in the deal and if there are extra charges for things like pictures, digital files, or fixing up the photos. Check that the prices match what you can afford

Flexibility and Customization

See if the studio can do things the way you want them. A good photography studio will listen to what you like and try to make the photo session just right for you. If you want a special background, a certain kind of picture, or if you have other requests, a studio that is flexible and friendly can make your photo experience even better.

Visit the Studio in Person

Whenever feasible, make a personal visit to the studio. This allows you to tangibly assess the physical space, meet the studio team, and immerse yourself in the atmosphere. A welcoming and organized studio environment not only sets the stage for a positive photography experience but also provides valuable insights into the studio’s professionalism.

Trust Your Instincts

In the final analysis, trust your instincts. Choose a portrait photography studio that not only ticks all the practical boxes but also resonates with your vision on a deeper level. The studio that feels right for you, evoking a sense of comfort and alignment with your creative aspirations, is poised to deliver portraits that are both authentic and stunning.

Conclusion

The journey towards selecting the right portrait photography studio involves thoughtful consideration of your unique style, the studio’s capabilities, and the rapport you establish with the photographers. This comprehensive guide empowers you to navigate the selection process with confidence, ensuring that the chosen studio exceeds your expectations and successfully captures the essence of your subject in beautifully crafted portraits. Trust the process, and let your portrait session unfold as a true reflection of your vision and the expertise of the chosen studio.

A Photographer's Guide to Iconic LA Landmarks

A Photographer’s Guide to Iconic LA Landmarks

Los Angeles, often hailed as the city of dreams and diversity, reveals its captivating beauty through a tapestry of iconic landmarks that beckon to be immortalized through the lens. Within the pages of this blog post, we extend an expansive guide tailored for photographers passionate about seizing the very essence of these legendary Los Angeles landmarks. Whether it’s the glitz of Hollywood or the serene beauty of the Venice Canals, each landmark is a chapter waiting to be written in the visual story of this sprawling and dynamic city. Join us on a photographic journey where every click of the camera is an endeavour to capture not just images but the soul of Los Angeles itself.

A Picture of a Dark Buildings

 Iconic LA Landmarks

1. Hollywood Sign

Get ready for an exciting adventure to take pictures of the famous Hollywood Sign! We’re going to explore different spots, try out cool ways to use light, and find the best angles to make the sign look super awesome against the Hollywood Hills. It’s like turning this big sign into a great picture. Imagine taking photos when the sun is coming up, making the sign all warm and cosy, or when it’s going down, creating shadows and making things look dramatic. This journey is not just about clicking pictures; it’s about making the Hollywood Sign look extra special in your photos – like your own work of art!

2. Griffith Observatory

Let’s explore the awesome Griffith Observatory, a cool place for taking pictures. It’s like a double treat for photographers! You can learn to take super-pretty pictures of the city at night and also capture amazing pictures of the stars and planets. It’s like turning the observatory into a space art canvas! Imagine clicking photos when the city lights twinkle below and then pointing your camera up to capture the stars and the moon. This journey is not just about taking pictures; it’s about creating magical scenes that show how awesome the Griffith Observatory is, both with city lights and the wonders of the night sky.

3. Santa Monica Pier

Get ready for a fun time at Santa Monica Pier – it’s a place that’s always buzzing with excitement! You can be there from the early morning until the sun sets.  And we’ll figure out how to capture all the cool stuff. Think about the bright colours, the rides that go up and down, and the happy feeling with lots of people around. It’s like trying to catch all the energy and excitement with your camera. Imagine taking pictures when the sun is just waking up. Making everything look calm and peaceful, and then, when it’s going to sleep, turning the sky all shades of orange and pink. This adventure isn’t just about snapping pictures; it’s about making memories of the Santa Monica Pier that are as lively and fun as the pier itself!

4. The Getty Center

Discover the wonders of the Getty Center, a place full of fancy and beautiful designs. It’s like a treasure chest of fancy buildings! When you explore, think about how to take pictures that show off all the little details. Pay attention to the sunlight that comes in naturally and how it makes everything look. Don’t forget to snap shots of the amazing views around the Getty Center, like the cool landscapes and gardens. It’s like a cultural treasure that’s also a feast for your eyes! So, grab your camera and start capturing all the awesomeness of this special place.

5. Downtown LA Skyline

Let’s walk around the busy streets of Downtown Los Angeles—it’s like a big, lively city with lots of action! We’re going to learn how to take pictures of everything around us. From photos of people on the street to tall buildings. We’ll figure out cool ways to make our pictures show how much is happening in the city. Imagine taking photos where you can see all the little things on the street, like cars and people, and then looking up to catch the super-tall buildings reaching high into the sky. This adventure is not just about taking pictures; it’s about showing off the excitement and energy of Downtown LA in every shot!

6. Walt Disney Concert Hall

Let’s take pictures of the special Walt Disney Concert Hall—it’s a super cool building with a unique design! We’ll figure out how to make our photos show off their shiny curves and reflective surfaces. Imagine taking pictures where you can see how the metal parts look and how they shine in the light. We’re going to learn cool tricks to make our photos bring out the art and architecture of the Walt Disney Concert Hall. This adventure is all about capturing the beauty of this special building in every photo!

7. Venice Canals

Escape to the picturesque Venice Canals for a serene photography session. Explore composition techniques to capture the charm of the canals, bridges, and vibrant surroundings that transport you to a different world.

Conclusion

Los Angeles, with its iconic landmarks, offers a playground for photographers seeking to tell visual stories. From the glitz of Hollywood to the tranquillity of the Venice Canals. Each landmark presents a unique opportunity to capture the city’s diverse character. Armed with your camera and newfound insights, embark on a photographic journey that immortalizes the timeless beauty of these iconic Los Angeles landmarks.

You will find the following information:

A Beginner's Guide to Music Recording Apps

A Beginner’s Guide to Music Recording Apps

Music recording apps are software applications designed for smartphones or tablets that enable users to capture, edit, and produce music directly on their mobile devices. These apps provide a user-friendly interface with features such as multitrack recording, editing tools, virtual instruments, and various effects, allowing musicians to create professional-sounding recordings without the need for elaborate studio equipment. In this beginner’s guide, we’ll walk you through the basics, demystifying the world of music recording apps and empowering you to unleash your creativity.

A Picture of a Phone
A Beginner’s Guide to Music Recording Apps

Key features of music recording apps typically include:

  1. Multitrack Recording: This enables users to record and layer multiple tracks, allowing for the creation of complex compositions.
  2. Editing Tools: Basic editing functionalities such as cutting, trimming, and arranging recordings to refine the sound.
  3. Virtual Instruments: Some apps offer virtual instruments, allowing users to experiment with different sounds and tones.
  4. Export Options: Allows users to easily export their recordings for sharing with others or for further editing in other software.
  5. Collaboration Features: Certain apps facilitate collaboration by enabling users to share projects with fellow musicians, fostering virtual collaborations.
  6. Effects: Many apps provide a variety of effects that users can apply to enhance the overall sound of their recordings.

Understanding the Basics

Before delving into the apps, it’s essential to grasp the fundamentals of music recording. At its core, recording involves capturing and storing sound. With music recording apps, this process becomes accessible to anyone with a passion for music and a desire to explore their creative side.

Choosing the Right App

Your first step is to choose a recording app that suits your needs. Consider the following:

  • Check compatibility with your device’s operating system (iOS, Android).
  • Opt for user-friendly apps with intuitive interfaces for a smoother recording experience.

Essential Features to Look For

As a beginner, focus on apps that offer essential features to enhance your recording experience:

  • Multitrack Recording:
    • Enables you to record and layer multiple tracks, allowing you to build complexity in your compositions.
  • Editing Tools:
    • Look for apps with basic editing tools, such as trimming and cutting, to refine your recordings.
  • Virtual Instruments:
    • Some apps provide virtual instruments, giving you the flexibility to experiment with different sounds and tones.
  • Export Options:
    • Ensure the app allows easy export of your recordings, whether for sharing with others or for further editing in other software.

Setting Up Your Space

Creating an optimal recording environment contributes to the quality of your recordings:

  • Find a quiet space free from background noise.
  • Use headphones to monitor your recordings and catch any unwanted sounds.

Experimenting with Sound:

  • Test different microphone placements to find the best sound for your recording.
  • Play around with volume levels and explore any available effects to add a unique touch to your recordings.

Recording Your First Track:

Now that you’re set-up, it’s time to record your first track:

  • Open your chosen app and create a new project.
  • Hit the record button and let your creativity flow. Remember, it’s more about capturing your ideas than achieving perfection at this stage.

Editing and Enhancing:

After recording, use the app’s editing tools to refine your track:

  • Trim unnecessary sections and experiment with adjusting volume levels.
  • Explore any effects the app offers to enhance the overall sound.

Collaborating with Others:

Many recording apps feature collaboration options:

  • Share your projects with fellow musicians to gather input or collaborate on a song.
  • Explore how to collaborate virtually within the app to broaden your musical connections.

Exporting Your Masterpiece:

When you’re satisfied with your creation, it’s time to share it with the world:

  • Explore the export options within the app.
  • Save your recording to your device or share it on social platforms to showcase your musical prowess.

Conclusion

Congratulations! You’ve just embarked on your music recording journey with the help of a recording app. Remember, the key is to have fun, experiment, and embrace the learning process. As you become more comfortable with recording, you’ll discover new ways to express yourself through your music. Enjoy the journey, and let your creative ideas come to life through the wonderful world of music recording apps. Happy recording!

You will find the following information useful:

Recording Software Programs

Top Best Recording Software Programs for 2024

In the ever-evolving landscape of music production, having the right recording software at your fingertips is like having the perfect instrument in your hands. It’s your gateway to crafting melodies, sculpting soundscapes, and bringing your musical visions to life. In this blog post, we’ll take you on a melodic journey through the top recording software programs, each a powerhouse in its own right.

Recording Software Programs

Top Best Recording Software Programs for 2024

1. Ableton Live

If electronic music is your jam, Ableton Live is your go-to companion. Renowned for its intuitive interface and robust MIDI capabilities, it’s a favourite among electronic producers and DJs alike. Live’s Session View is a game-changer for live performances, allowing you to trigger clips, loops, and effects in real time, making it a must-have for electronic music creators.

Compatibility:

  • MacOS

Key Features of Ableton Live:

  • Intuitive Interface
  • Robust MIDI Capabilities
  • Favored by Producers and DJs
  • Game-Changing Session View
  • Real-Time Clip, Loop, and Effect Triggering
  • Ideal for Live Performances
  • Professional-Grade Music Production
  • Versatile Recording with or without Instruments
  • 28 Drummers and 3 Percussionists
  • Shape and Synth Controls for Precision
  • Learning Support for Beginners

2. Pro Tools

Pro Tools has earned its status as an industry heavyweight for a reason. It’s the go-to choice for recording studios worldwide, known for its exceptional audio quality and powerful editing capabilities. Whether you’re recording a live band or mixing a film soundtrack, Pro Tools sets the gold standard for professional audio production.

Compatibility:

MacOS, Windows, and Linux operating systems.

Key Features:

  • Industry-Standard Audio Mixing and Recording
  • User-Friendly Interface with Powerful Tools
  • Cost-Free Access to Premium Features
  • High-Quality Output for Professional-Level Music
  • Instant Social Media Sharing
  • Extensive Plugin Library
  • External Surface Controls for Enhanced User Experience
  • Flexible Architecture for Varied Music Configurations

3. FL Studio

FL Studio, formerly known as FruityLoops, has carved out a special place in the hearts of beatmakers and electronic music producers. Its step sequencer and pattern-based workflow make it a breeze to create rhythmic masterpieces. With a wide range of virtual instruments and effects, FL Studio is where groovy beats come to life.

Compatibility:

MacOS and Windows operating systems

Key Features:

  • Innovative Music Production Environment
  • Seamless Track Creation and Editing
  • Versatile Mixer with Powerful Tools
  • Extensive Library of Virtual Instruments and Effects
  • Real-Time Collaboration and Social Integration
  • Automation and Live Performance Capabilities
  • Lifetime Free Updates

4. Cubase

For composers and arrangers, Cubase represents an absolute dream come true. Its proficiency in handling MIDI and orchestrating intricate scoring sets it apart as a premier choice, particularly among film composers and musicians tasked with crafting complex arrangements. Cubase’s suite of scoring features, coupled with its extensive virtual instrument library, positions it as a heavyweight in the music production industry.

Compatibility:

MacOS and Windows

Key Features:

  • Advanced Audio Editing and Mixing
  • Intuitive Interface with Streamlined Workflow
  • Flexible Track Creation and Arrangement
  • Extensive Virtual Instrument Library
  • Precise MIDI Editing and Control
  • VST Effect and Instrument Support
  • Comprehensive Mixing and Mastering Tools
  • Real-Time Collaboration and Cloud Integration

5. Studio One

Studio One by PreSonus stands out as a well-rounded recording software that seamlessly unifies the essential elements of music production—recording, mixing, and mastering—within a single, cohesive platform. What sets it apart is its user-friendly interface, which promotes a smooth and efficient workflow. Studio One streamlines the creative process with simple drag-and-drop functionality, enabling you to focus more on your music and less on technicalities.

Compatibility:

MacOS and Windows operating systems

Key Features:

  • Simplifies the music production process with an intuitive layout.
  • Allows seamless arrangement, editing, and manipulation of audio and MIDI elements.
  • Empowers users with precision and creativity in fine-tuning recordings.
  • Facilitates easy integration and manipulation of samples within projects.
  • Provides flexibility in adjusting the tempo and pitch of audio clips.
  • Includes a diverse suite for enhancing the sonic palette.
  • Seamlessly integrates pitch correction for achieving perfection.

6. Reaper

While Reaper may sport an affordable price tag, don’t be deceived; it’s a potent recording software boasting an impressive array of features. Renowned for its exceptional customization options and minimal system requirements, Reaper has firmly secured its place as a top choice among home studio enthusiasts. What truly elevates this software is its vibrant and dedicated user community, actively contributing to the continuous growth of its library of extensions and plugins.

Compatibility:

MacOS and Windows

Key Features:

  • Offers a highly customizable interface to adapt to individual preferences and workflows.
  • Enables seamless multitrack audio recording and editing for versatile music production.
  • Supports an extensive array of audio formats.
  • Provides powerful tools for automation and MIDI editing.
  • Integrates with a wide variety of third-party plugins.
  • Offers affordable licensing options, making it an accessible choice for diverse users.
  • Facilitates real-time collaboration.
  • Includes a comprehensive set of editing tools and effects.

7. Reason

Reason truly is a playground for sound designers and electronic music enthusiasts. Thanks to its modular rack-style interface, you can seamlessly create unique sounds by connecting virtual devices. Additionally, with an extensive library of virtual instruments and effects at your fingertips, Reason strongly encourages experimentation and sonic exploration. This powerful recording software invites you to delve deep into the world of sound design, enabling you to craft one-of-a-kind audio experiences that push the boundaries of creativity.

Compatibility:

  • MacOS and Windows.

Key Features:

  • Offers a unique modular rack environment for flexible signal routing.
  • Provides an extensive library of high-quality sounds.
  • Simulates a wide range of studio gear, emulating analogue hardware for an authentic sound.
  • It enables efficient audio recording and editing.
  • Integrates seamlessly with Propellerhead’s Reason Studios, expanding creative possibilities.
  • Facilitates real-time collaboration through cloud-based sharing and collaboration features.
  • Allows for real-time time-stretching and pitch-shifting, enhancing creative experimentation.
  • Supports VST plugins, providing compatibility with a wide range of third-party instruments and effects.
  • Includes powerful MIDI sequencing tools and automation capabilities for precise control.

8. Bitwig Studio

Bitwig Studio stands out as a relative newcomer that has rapidly gained recognition and acclaim in the recording software arena. What truly sets it apart is its revolutionary feature known as The Grid, which serves as a modular sound design environment. This innovative tool empowers you to embark on a sonic journey, allowing you to craft your very own instruments and effects completely from scratch.

Compatibility:

MacOS, Windows, and Linux

Key Features:

  • Creative control over various parameters.
  • Integration with a wide range of hardware controllers.
  • Modular approach to sound design.
  • Modular sound design environment for custom instruments and effects.
  • Expressive control over polyphonic parameters.
  • Live performance and creative arrangement.
  • Compatibility with the latest third-party instruments and effects.
  • Fluid and efficient workflow during music creation.
  • Robust audio and MIDI editing tools with automation capabilities.

Final Thoughts

In conclusion, your choice of recording software is a key element in your music production journey. Each of these top 10 recording software programs brings its unique strengths to the table, catering to various musical styles and preferences. Whether crafting electronic beats, composing symphonies, or designing experimental soundscapes, there’s recording software waiting to help you turn your musical vision into reality.

You might also be interested in: