Embarking on the journey to capture pristine audio is an exciting endeavour, and it all begins with mastering the fundamentals. At the core of every exceptional recording lies the art of mic placement and recording techniques. In this guide, we unravel the mysteries surrounding these foundational elements, presenting straightforward yet impactful strategies to enhance the quality of your audio productions. Whether you’re a budding enthusiast or a seasoned pro, these simple tips will serve as your compass, guiding you toward achieving a crystal-clear recording that resonates with professional clarity and elevates your entire audio experience. Let’s dive into the essential techniques that will shape your sonic landscape and unlock the full potential of your recordings.
Choosing the Right Microphone
To embark on a successful recording journey, the first crucial step is selecting the right microphone tailored to your specific needs. Microphones come in various types, each with its own unique way of capturing sound. Whether you’re capturing vocals or instruments, choosing a microphone that complements the characteristics of your voice or sound source is paramount to achieving optimal recording quality.
Mind Your Distance
Maintaining the ideal distance between the microphone and the sound source is a game-changer. Too close, and you risk introducing distortion; too far, and your recording may lack the desired clarity. Experimentation is key to finding that sweet spot where your microphone captures the nuances of the sound source without compromising audio fidelity.
Consider Room Acoustics
The environment in which you record significantly impacts the outcome. Hard surfaces in a room can lead to unwanted echoes and reflections. Combat this by being mindful of the room’s acoustics. Introduce soft furnishings or acoustic panels to absorb excess sound. Creating a cleaner recording environment that enhances the overall quality of your recordings.
Eliminate Background Noise
A quiet recording space is essential for achieving pristine audio. Turn off unnecessary appliances or electronics, and close windows and doors to minimize external sounds. This commitment to a quiet environment serves as the foundation for recording clarity, allowing your microphone to capture the intended sound without interference.
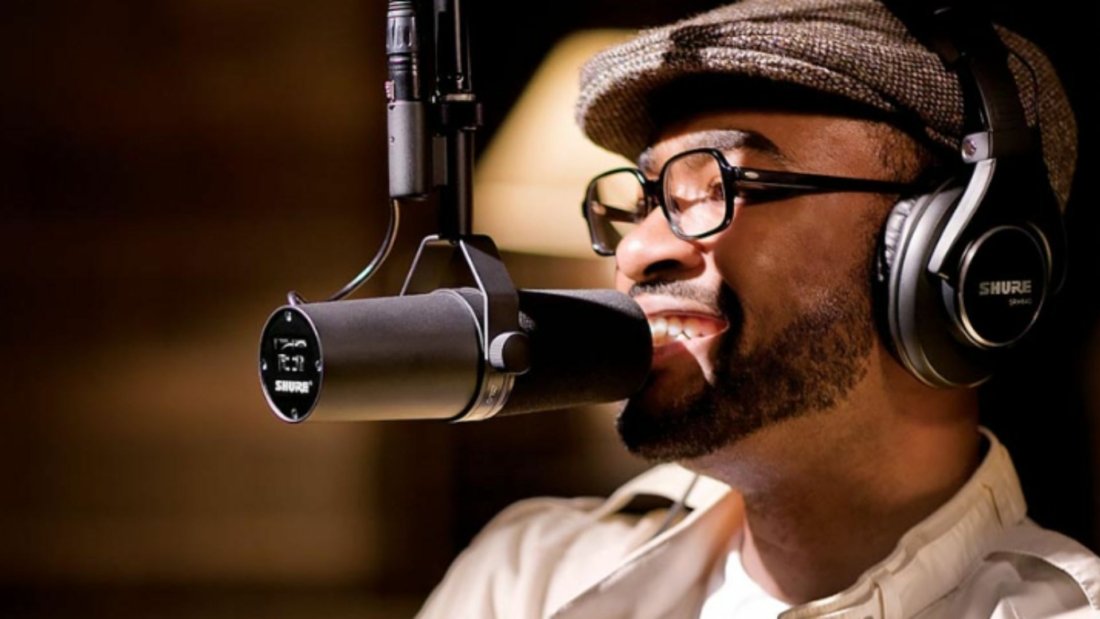
Use Pop Filters for Vocal Recordings
Vocal recordings often face challenges with plosive sounds like ‘p’ and ‘b.’ Integrate a pop filter into your setup to mitigate these issues. This simple accessory acts as a shield, reducing the impact of strong puffs of air and ensuring a smoother recording for vocals.
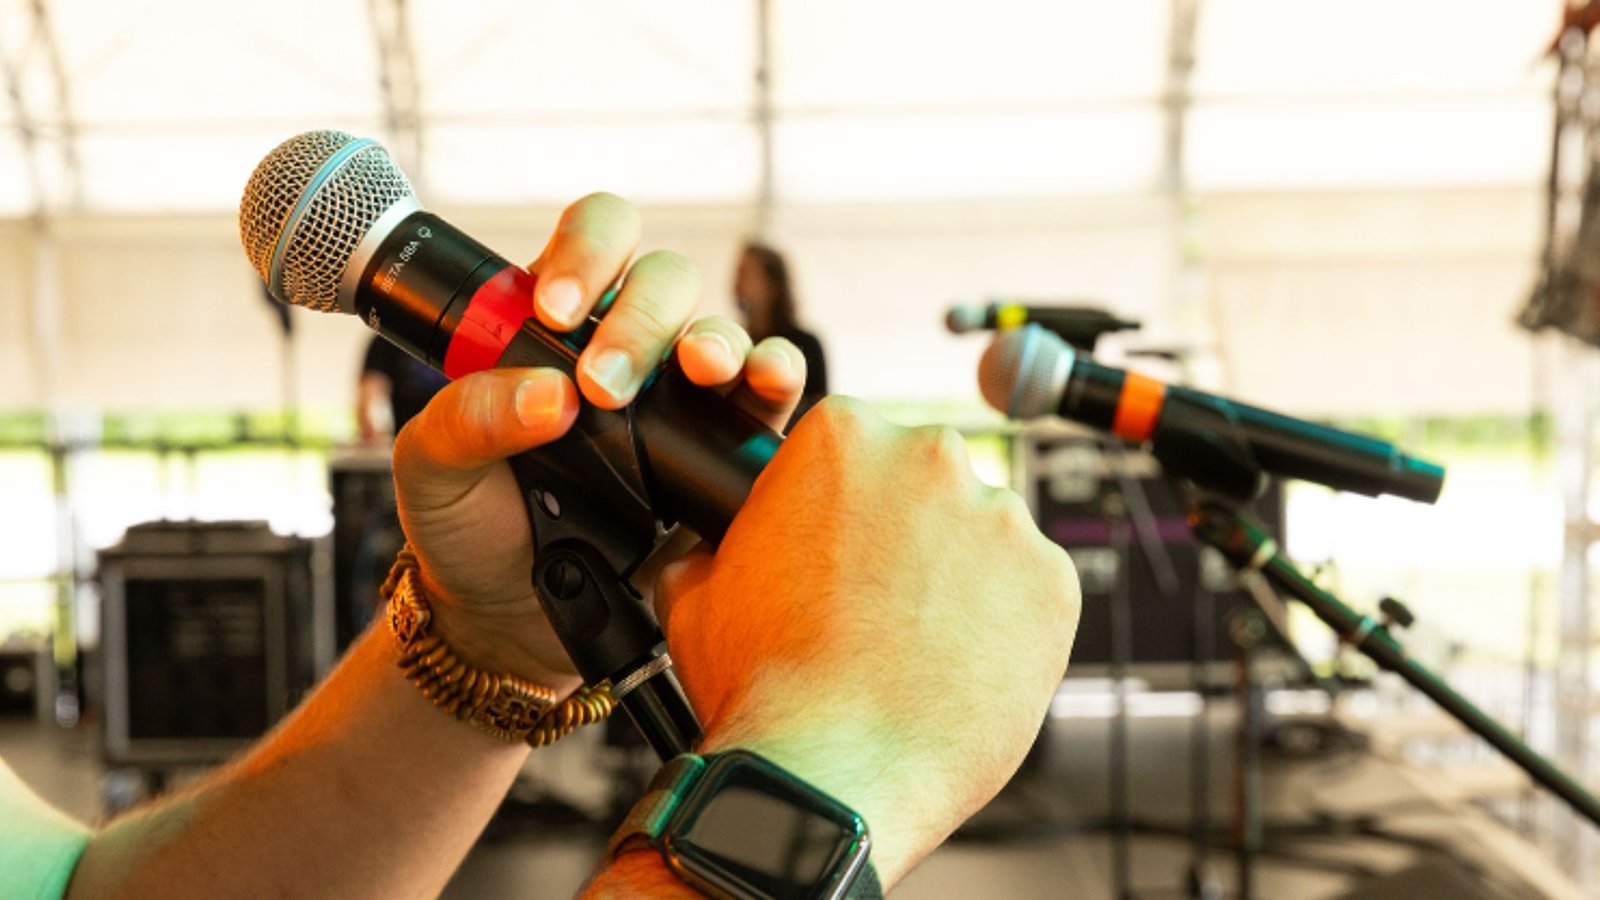
Experiment with Angles
Unlock the full potential of your microphone by exploring different angles during recording. For instruments, try angling the microphone to discover positions that capture a balanced and natural sound. This experimentation allows you to find the most favourable setup for each unique recording scenario.
The Cardioid Pattern Advantage
If your microphone features a cardioid pattern, leverage its directional capabilities by pointing it towards the sound source. This pattern minimizes background noise by focusing on what’s directly in front of the microphone and delivering a clean and precise recording.
Overcome Reflections with Strategic Mic Placement
Unwanted reflections can impact the clarity of your recording. Strategically place the microphone to minimize reflections by experimenting with various angles and distances. Finding the right position ensures a direct and clean sound, free from undesirable echoes.
Capture Dynamics with Proper Gain Setting
Setting the gain on your recording device correctly is crucial. Too much gain can introduce distortion, while too little may result in a weak recording. Strike the right balance to capture the dynamics of your performance accurately, ensuring a well-balanced and professional-sounding recording.
Test Before Committing
Before embarking on a full recording, conduct thorough test recordings to fine-tune your setup. Listen for any potential issues and make adjustments to mic placement, angle, or gain as needed. This pre-recording experimentation allows you to address any challenges, ensuring a seamless and high-quality recording process.
Conclusion
Achieving a professional and polished sound through effective mic placement and recording techniques is not only possible but entirely within your reach. By carefully selecting the right microphone, managing distances, considering room acoustics, and implementing practical tips, you can elevate your recordings to new heights. Embrace experimentation, actively listen to the nuances of your sound, and refine your approach to discover the recording techniques that best suit your unique style and preferences. With these foundational principles, you’re well-equipped to capture the essence of your performance with clarity and precision.
You will find the following information useful: